|
For this assignment I wanted to take pictures that focused on the balance between light and darkness. I took these photos in a dark room. I had a white sheet on top of a table and place my phone underneath the sheet. My phone's flashlight was turned on so it cast a beam of light through the sheet. I put different glass and clear plastic items on top of the light to illuminate them. I used a new tripod that my dad bought to make sure my camera stood still. I had to use a tripod because my shutter speed was slow. 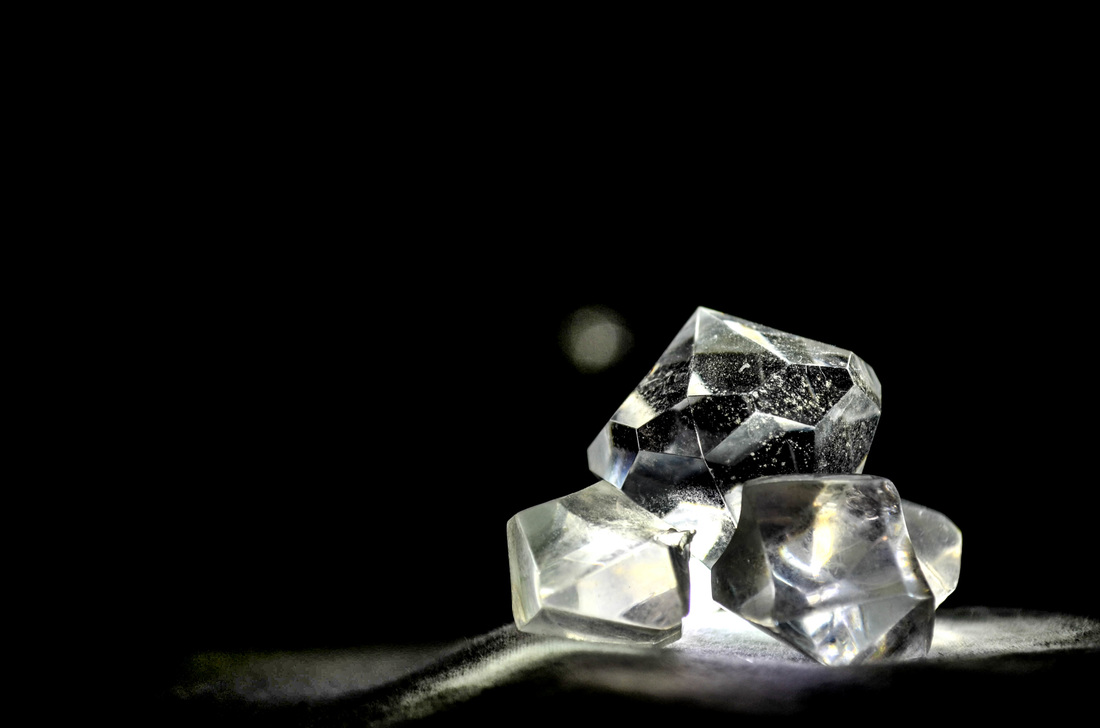 Best Photo: Bright Diamond Aperture: F/ 5.6 Shutter: 1/20 ISO: 100 Edits: I raised the Highlights, Whites, and Clarity. I decreased the Exposure a little bit and lowered the Blacks.
0 Comments
For this assignment I had to take pictures of classmates in a portrait form. I then had to take my two best photos, one studio portrait and one window portrait, and put them on a black background. I also had to put a white border around each image. This assignment taught me how much of an influence lighting has in a photograph. To make sure that both sides of the face has lighting and depth was still visible, I had to have a white reflector sheet opposite the light source to bounce some light back onto the person. I also had to make sure the white balance was correct for both images. Since the light sources were different the white balance settings had to be different from each other. I also had to make sure the white balance was correct. Since the light sources were different, they had to have different white balance settings. 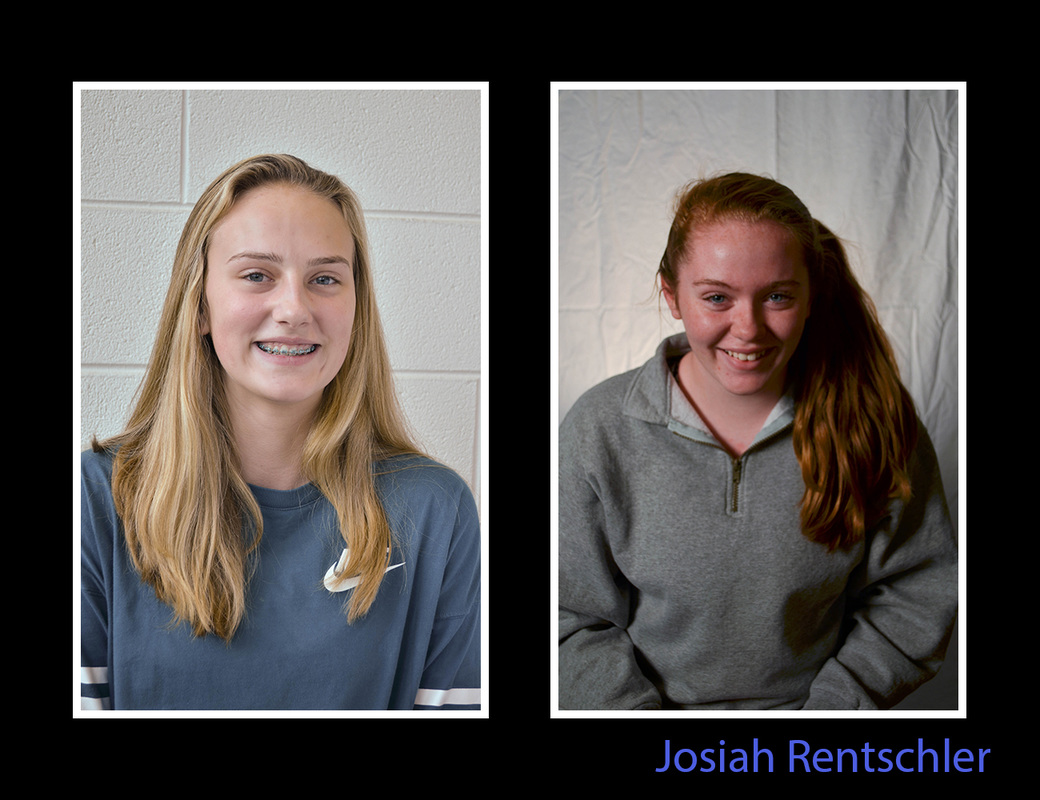 For this assignment I had to shoot photos that portrayed the natural world. I decided to take some pictures in the woods behind my friend's house. It was very cold that day so I learned to always dress for the weather. I also took some photos in my own backyard. It is extremely overgrown so I knew I could find some vines and branches to photograph. I discovered these weird plants that had bright purple stems. The stems contrasted well with the green leaves and berries. I enjoyed this assignment because I got to admire how beautiful nature is. 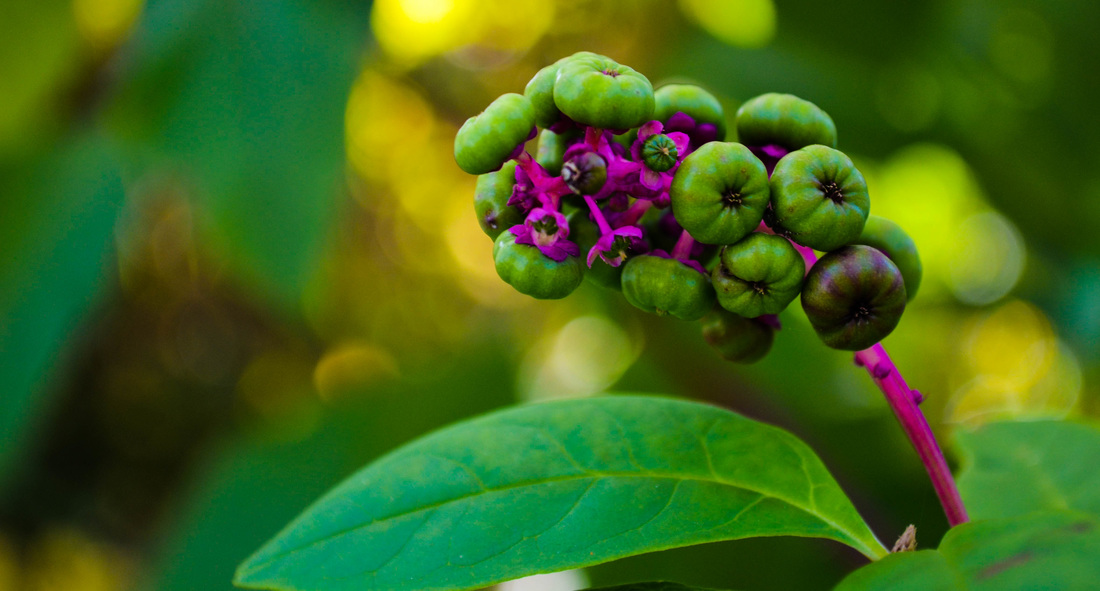 Best Photo: Purple Stem Aperture: F/ 5.6 Shutter: 1/125 ISO: 400 Edits: I raised the Contrast, Highlights, Blacks, Clarity, Vibrance, and Saturation. I lowered the Shadows and Whites. For this assignment I had to set up props in an exciting way and light them. I decided to take photos of my sunglasses and guitar. To set up my still life, I put two boxes on a table and draped a black blanket over them to create a sort of wall to make the background look shadowy. The blanket also covered part of the table and that is where I set up the sunglasses. For the guitar I put it on the blanket and folded up the edges to raise the blanket off the ground. I turned off the overhead light and used a lamp. Since there wasn't as much light i needed to use a slow shutter speed. I did not have a tripod so I used a stool and a chair and the table itself. This made getting photos at an above angle difficult to get since the chair and stool weren't slanted. I learned that I really need to get a tripod for the clearest photographs. 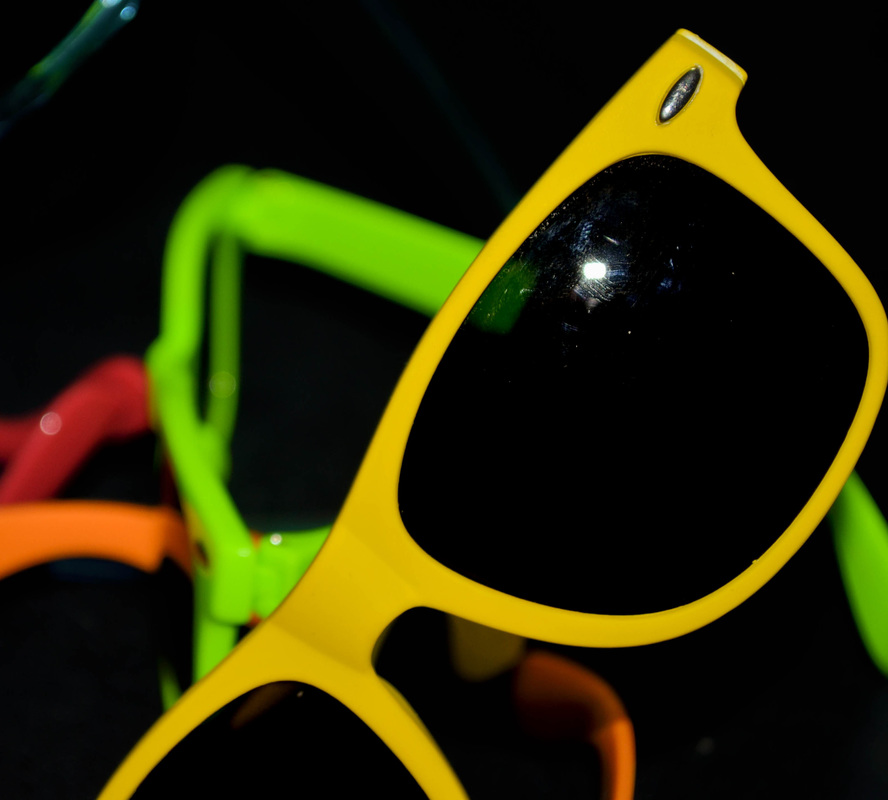 Best Photo: Sunglasses Aperture: F/ 5.6 Shutter: 1/60 ISO: 100 Edits: I raised the temperature, blacks, vibrance, and exposure. I lowered the highlights, shadows, and whites. I also tinted the lenses of the sunglasses with Photoshop. For this project we were given a photo of a car that a previous student had taken. We had to edit the photo using Adobe Photoshop to make it look more appealing. We were given a pre-edited copy of the photo as well to use as reference. Our job was to make the original car photo look like the edited car photo. The tools I used to edit this picture were the Quick Selection Tool, Levels Tool, Clone Stamp Tool, and the Brush Tool. Before Editing: 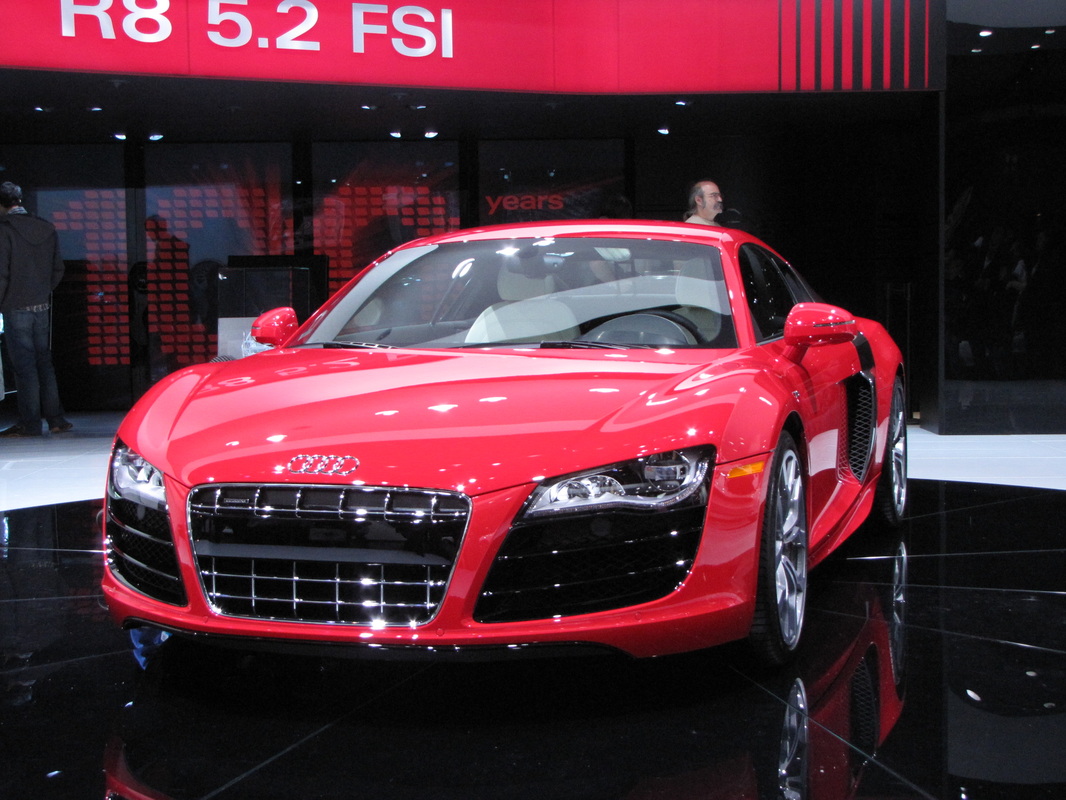 After Editing: 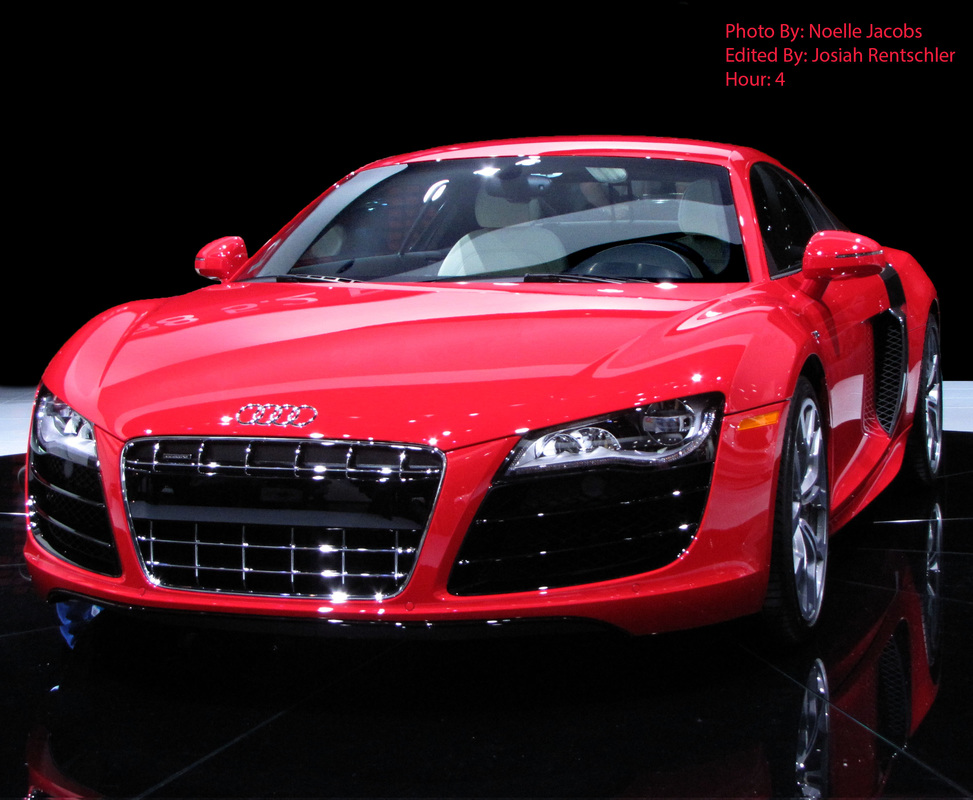 For this assignment I had to shoot pictures that I was going to convert to black and white. I had to look for areas with contrast between light and dark. I went to a few different parks around Saline to take these pictures. Something I learned was that even if the color of the background and subject was very different, they didn't always look good when converted to black and white because the lightness of the color was too similar. For example, I had a good picture of an orange leaf in the green grass, but when it was black and white they were both a light gray and the photo did not look as appealing. 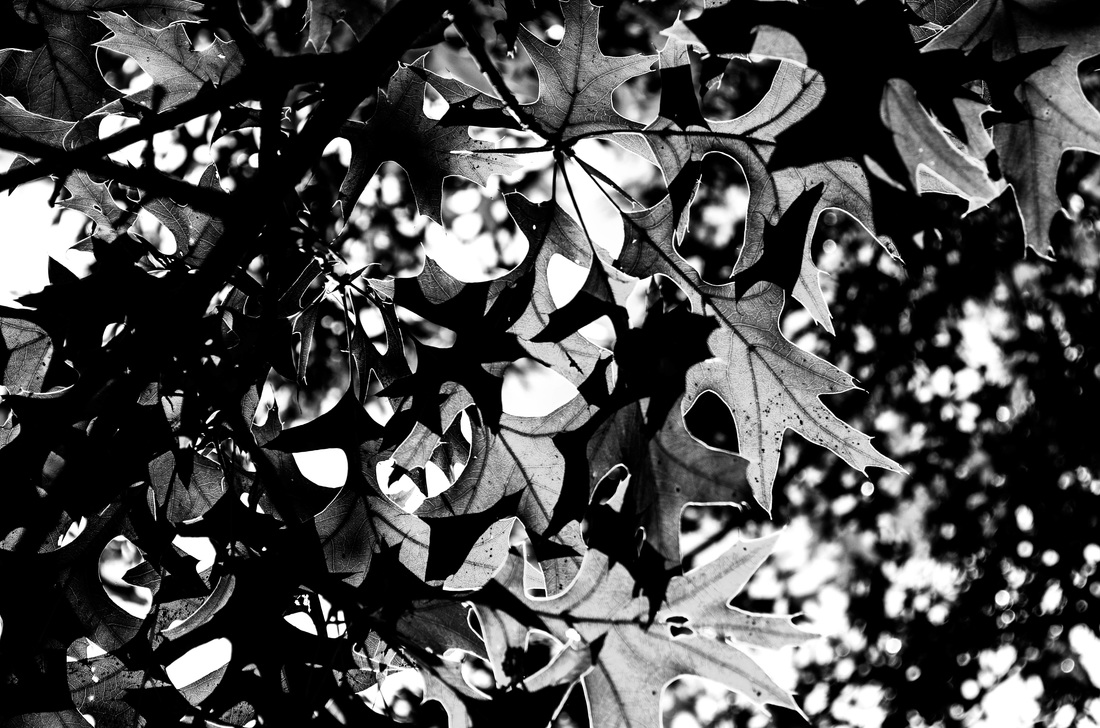 Best Photo - Leaves Blocking the Sun Aperture: F/9.0 Shutter: 1/320 ISO: 100 Editing: I increased the contrast, highlights, shadows, whites, and clarity. I decreased the exposure and blacks. For this assignment I had to use a picture of myself to create Pop Art in the style of Andy Warhol. We had to crop our photo into a square-like shape and make it black and white. We then had to make a file that was four times the size of our cropped image. We then placed four copies of the cropped image into the bigger file. Then we edited the color, saturation, hue, and lightness to create a blue, red, green, and yellow copy. Original Photo.  Photo after cropping and editing the threshold (making it black and white). 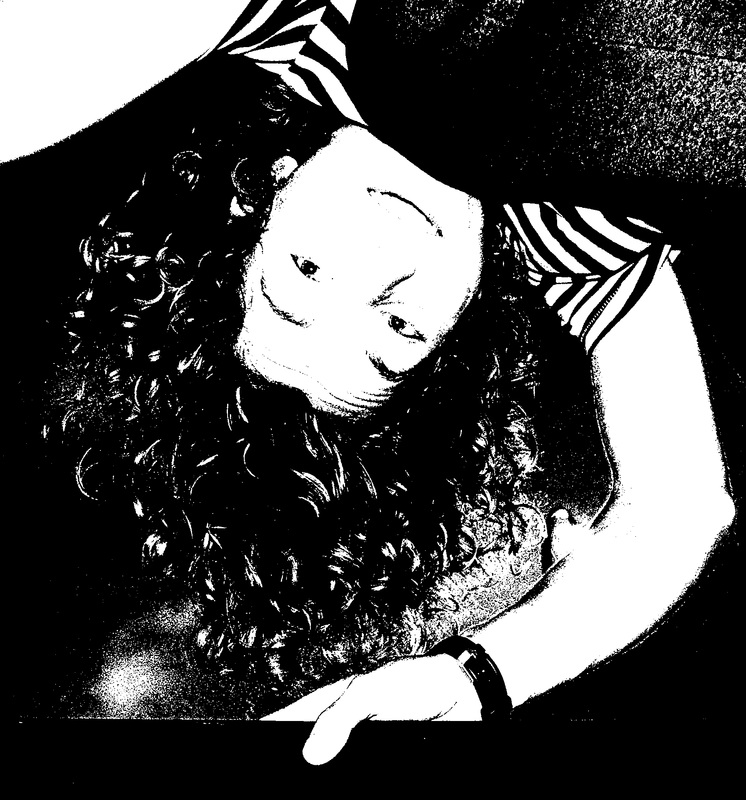 Final Pop Art Photograph. 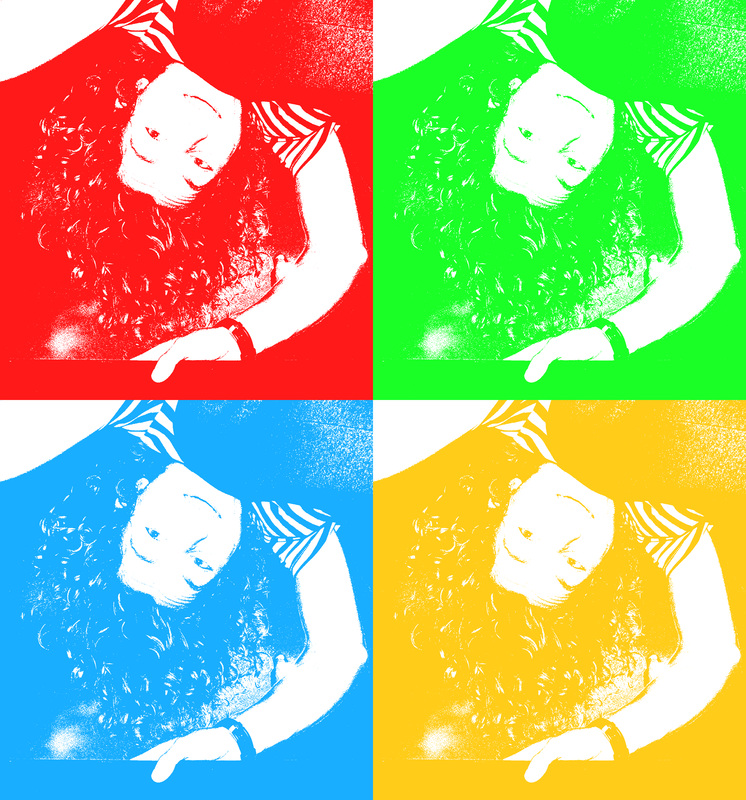 My own Pop Art (Just Messing Around). 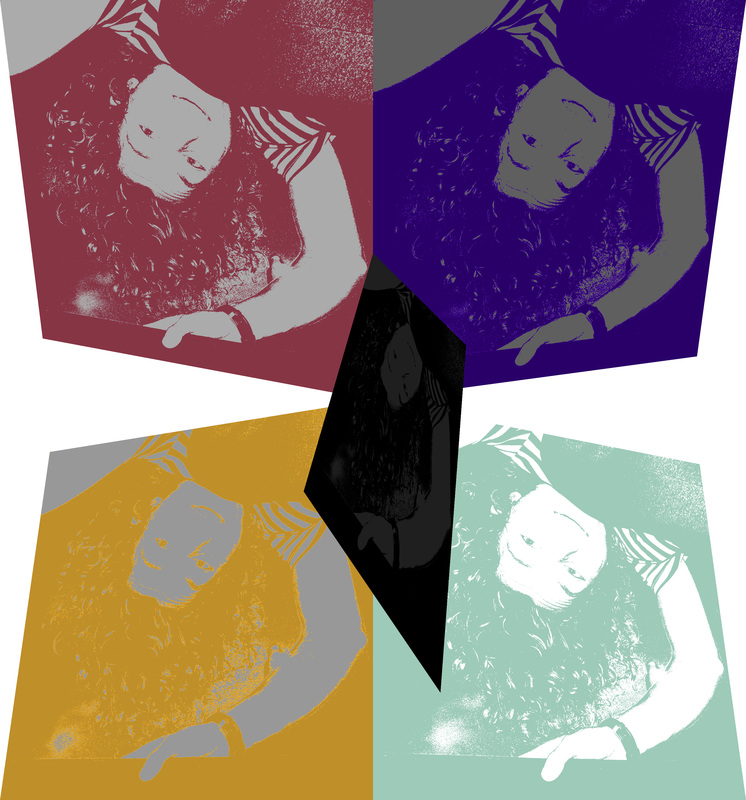 In this project I learned some new things about how to use Photoshop. I did not know how to change the colors of photos before. I also learned that you can use the rulers on the edges of the picture window to place photos into your file.
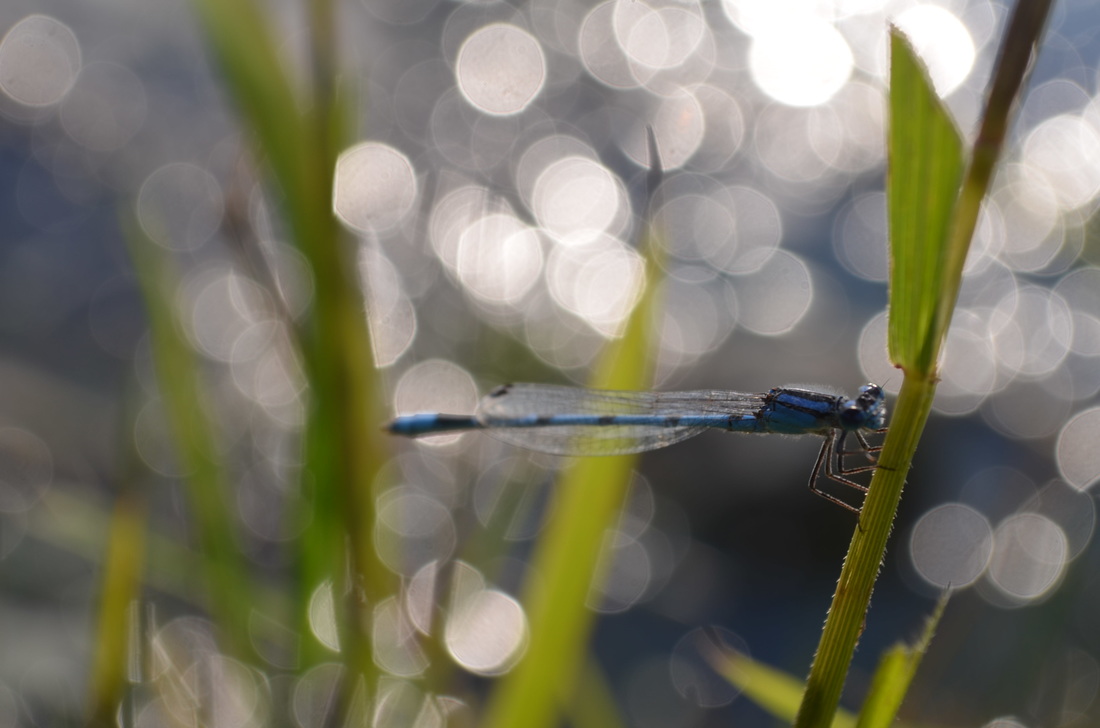 Best Photo - Dragonfly Aperture: F/8.0 Shutter: 1/125 ISO: 100 No Editing This is a picture of a Dragonfly I found by the river at Millpond Park. It flew away from me a few times and I had to follow it around, but this photo was worth the effort. I went to the Rentschler Farm with my friend Josh to take some of these photos. I was disappointed that I could not get a good photograph of the chickens because there was chicken wire all around them. The farm equipment was very interesting and had many different pieces and bolts, but I had a hard time focusing on them. Luckily, there were many pretty flowers in the garden that I could take pictures of. After I took a lot of pictures at the farm, I went over to Millpond Park to finish up. I found a couple frogs and some bugs to take pictures of. It was hard to get a good photo of the dragonlfy because it kept moving when I got too close. When it finally stopped flying I took as many pictures of it as I could. I had a lot of fun taking these pictures because I got to see many different animals and plants and I got to hang out with my friend at the same time.
|
AuthorArtist Archives
November 2016
Categories |
Josiah Rentschler Photography
 RSS Feed
